Archive
Monthly Archives: March 2019

Monthly Archives: March 2019

Do you want to help your students develop deep thinking skills? Then this blog post is for you. In it, I share 2 visual strategies for developing deep thinking skills.
Here’s the story of how I use “shallow, deep, profound” to help my students who struggled with creating deep and detailed analysis of the literature texts.
Real-talk time: my students really struggle with analysis. Any kind of analysis. Instead of analysis, my students tend to act as Google Translate. They take the language of our lit text and ‘Google Translate’ it into their own words. They think this is what I mean by analysis. Even when I model it. Or when we talk in detail about the connotations and implications in the language.
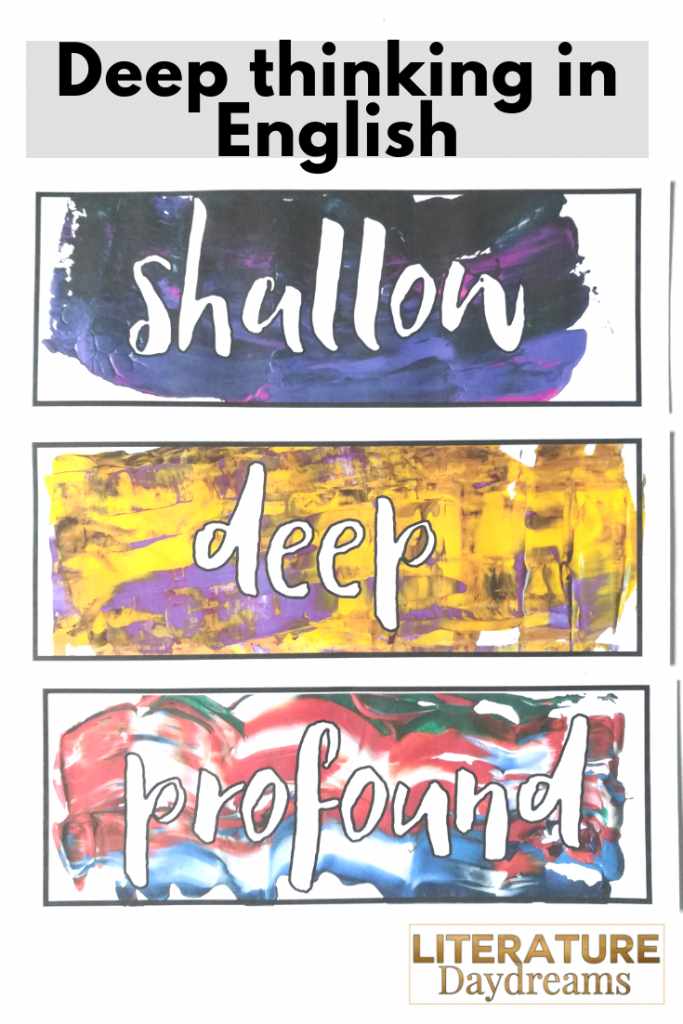
So for the last few months, I have been using the stages ‘shallow, deep, profound‘ to help them visualize moving their understanding to a more profound place. We walk through these steps to ensure their analytical is deep and detailed.

These 3 words “shallow, deep, profound” are the key. I have them printed, chopped up, laminated, and up on my wall. My students are so used to these terms now, that all I need to do is point to them and they get what I’m saying.
Here’s how I introduce and define the process for my classes:
Shallow – this is when you are just giving me a surface reading of the text. You are essentially re-wording the text into your own words or showing that you understand what it is about.
Deep – this is when you explore the deeper meaning suggested by the language, techniques, or structure. You read into the implied meaning behind the words. These are the connotations of the language.
Profound – this develops on your deep reading above (that’s the first step). You have explored already the connotations of the words used, now you consider how the author is shaping the readers’ thinking. How does it link to the themes in the text? How does it confirm or subvert accepted thinking?
If you like the idea of using “shallow, deep, profound” in your classroom – then all you need to do is click here to download a pdf with the colour and blackline versions of this file.
I think I must use these two words 100 times a day. My students are great at having ideas – but I have to push them to tell me why they decided on that particular idea, or to give me the evidence to justify it. This is where my “why” and “because” reminder cards come in!

I have laminated these 2 words, enlarged to poster size, inside speech bubbles. I have them on my desk, ready to go! Sometimes I tack them to the wall, sometimes I wander around just holding them.
They are big and visible. Now I can just wave the laminates, point to them, even just nod in their direction, and my students know they have to develop their answers for me.
Why – why is important because you have to justify to me the reason you made that decision. What did the author do? Write a metaphor. Why? The word “why” in itself forces deeper thinking. What is the best idea we’ve had today? Why?
Because – teaching my students to use the word ‘because’ in their classroom dialogue and their analytical writing has been transformational. Just like moving from shallow to profound thinking – it forces them to move from the ‘what’ in a text to the ‘why’. It is the gateway to discussions concerning authorial intent, motivations, and purpose. The word ‘because’ nearly always follows a ‘why’ discussion, so it’s great to have on hand!
Again – if you like the idea of using these “why and because” prompts in your classroom, then all you need to do is click here to download the pdf file with them in.
If you love these teaching ideas – then sign up to receive two new ideas directly to your inbox every week!

Sign up below to receive regular emails from me jammed packed with ELA teaching tips, tricks and free resources. Also access my free resource library!

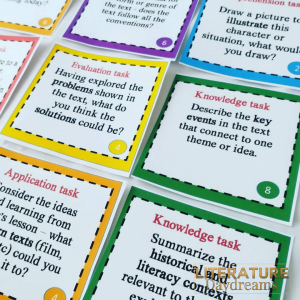
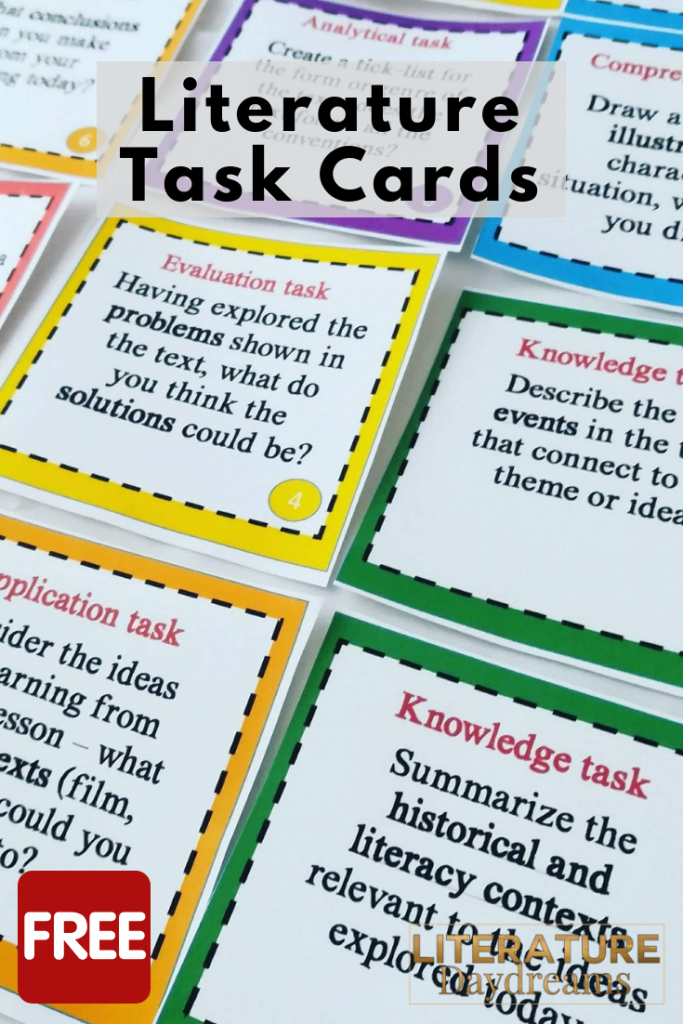
Reading literature is a huge part of English and ELA lesson time. Whether you are reading articles, short stories, or studying Shakespeare – it can be difficult often to find tasks that have the ability to engage and challenge students. I was finding that I was setting the same boring worksheets again and again. Fill out a table. Answer these quiz questions. While these are all fine. I wanted something more for my students. That is why I decided to create a set of task cards just for my literature texts.
Very simply these are a set of printable task cards with activities on that students can complete independently or in groups. All I had to do was print them once, in colour, and laminate them. Now I can take them out 4 – 5 times a week and use them with different classes.

The cards I created (and there is a free download here) are based on Blooms’ Taxonomy. There was no particular reason behind this, other than that I wanted to cover a range of skills. Some people treat Blooms’ like it is a hierarchy.
I didn’t want the task cards to be like that. Each of the tasks, I created 60 in total, are designed to get my students thinking. None is better than another.
Interested in downloading 10 tasks cards to try for free? Just click here!
If you love this activity – then sign up for my weekly “Making Sense on Sunday” email where I share two teaching ideas each week that you can use in your classroom straight away!
Sign up below to receive regular emails from me jammed packed with ELA teaching tips, tricks and free resources. Also access my free resource library!

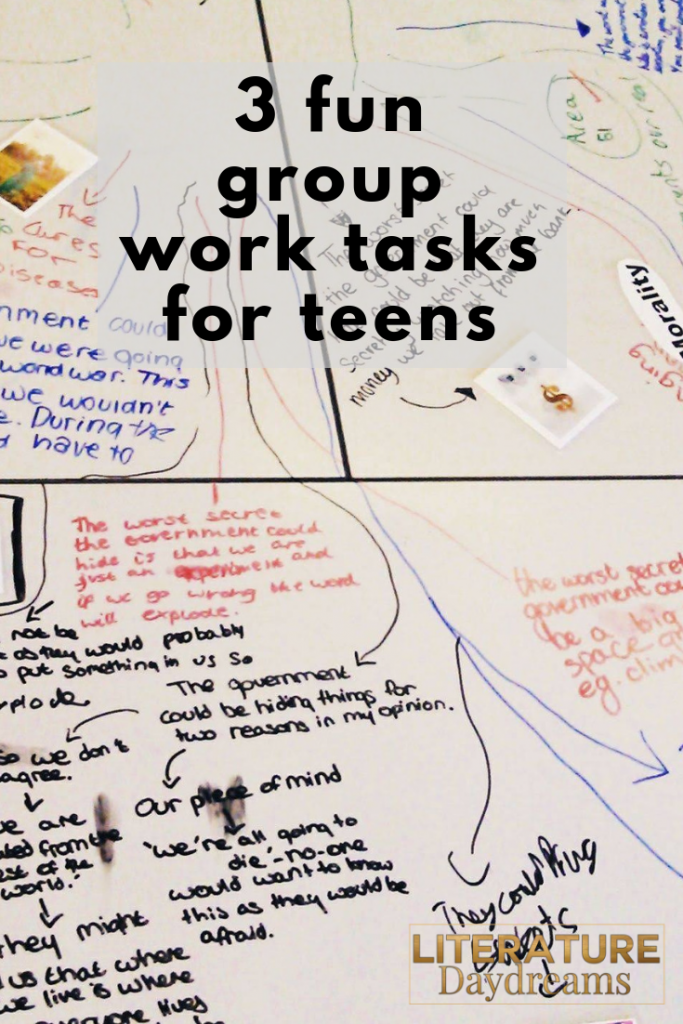
Do you want your teenage students to be more active and engaged in group work? Well, this blog post has some group work gems. These activities are guaranteed to get your students moving, keep them engaged, and get them more involved in their learning!
This activity is exactly what the title suggests. You turn student teams into human photocopiers! They work in groups to create an exact copy of a document you give them. This is great for teaching new material, reviewing prior learning, or consolidating your current unit.

Before you begin, you will need to decide what you want your students to recreate. I usually create A3 sheets with information that I want my class to understand.
Each sheet needs to contain a mixture of images, labels, short phrases, and text written in long form. I don’t produce these to be beautiful (this is partly the point). They are often handwritten and my own drawings to make them a little more tricky to recreate!
Sometimes I give all the groups the same sheet to reproduce. Sometimes I give them different information sheets to reproduce and then teach the rest of the class (a bit of reciprocal teaching is always good)!
This activity is a great way to review information and ideas, as well as work on short/long memorisation of key knowledge.
This super-simple strategy helps you manage team or group work but with a twist! It creates a sense of competition and can help keep students on task.
It is really simple – just click to download this PowerPoint slide

Then set up your group or teamwork as you usually would. This time use the racehorses to track the progress of each team. The team that completes all the tasks first wins 20 pts (or whatever you choose).
I have made the file completely editable so you can adjust it to fit your classes. The clipart is royalty free.
If you follow me on IG (please do!) – then you have probably seen me talking about the power of letting students write on your desks!
Yep, I said write on your desks. Of course, what I should have added was – with a dry-erase pen. This group work idea takes writing on the tables to another level. All you need to have to run this group work activity is dry erase pens for your students!
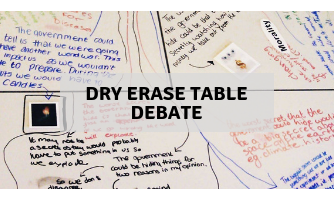
This is a really great strategy to use for classes who get distracted during group discussions, or where some students opt-out of participating (they can scribe). I just take a photo of the debate, quick print, and they stick in their notebooks!
Did you love these 3 group work ideas? I share teaching tips with my teacher-friends every Sunday via email. My “Making Sense on Sunday” email goes out each Sunday morning and it contains one classroom activity (like the ones above) and one activity to use with any reading or literature text. If you would like to hear my teaching tips first, then sign up below!
Sign up below to receive regular emails from me jammed packed with ELA teaching tips, tricks and free resources. Also access my free resource library!
")
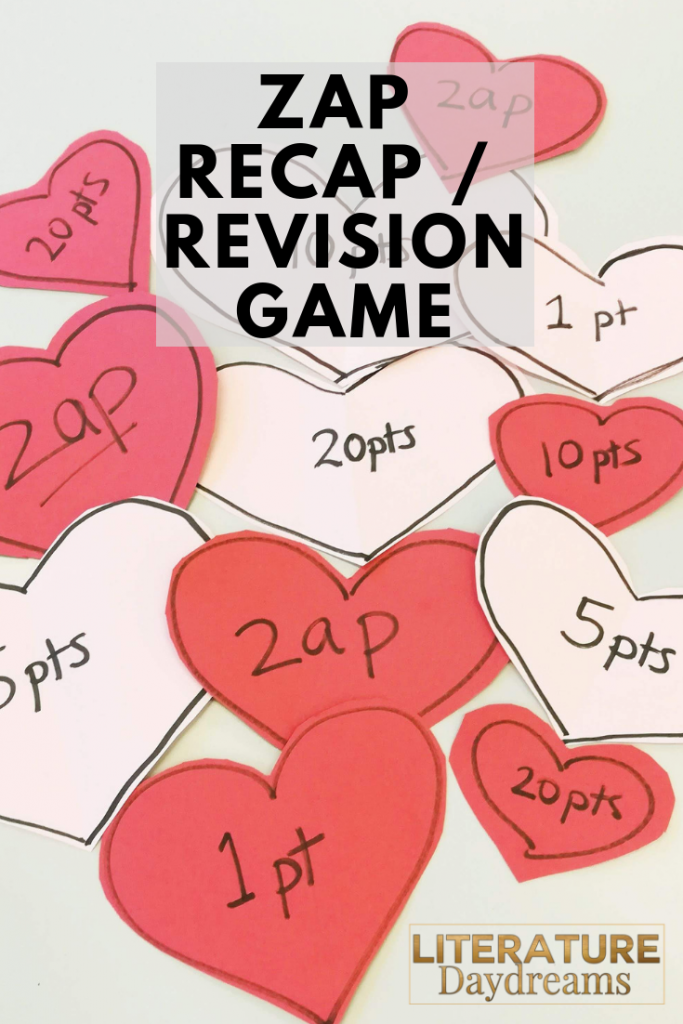
This recap/revision game is perfect for any GCSE subject and is a fun and engaging way to interest your students in their revision. It does require a little bit of preparation. But it is definitely worth it! Once you have it ready to go, it’s done for future use.
Here, I have shared my Valentine’s edition of the game. But it would be super easy to make seasonal – you could do coins for St Patrick’s Day, eggs for Easter, flowers for the summer, apples and pumpkins in the autumn, or gravestones at Halloween. Whatever shapes you like for the season! Of course, you can also use generic shapes: stars, clouds, fish – you choose!
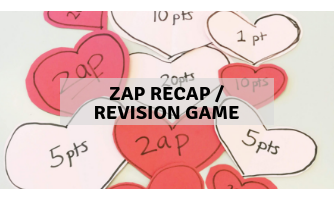
Here is the basic idea: the aim of the game is for your team to score as many points as possible.
Beforehand:
Playing the game:
This is a great fun activity for a tired Friday afternoon class and for reviewing key knowledge and information. Once you have made the shapes once, get them laminated and you can use them again and again.