Category Archives for "Things I love"

")
I love this questioning and review activity, is it perfect for the Spring and Easter season to bring a little fun to my classroom.
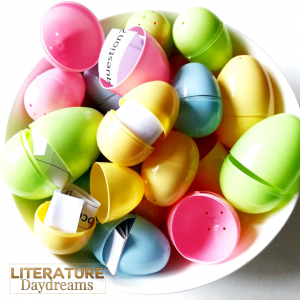
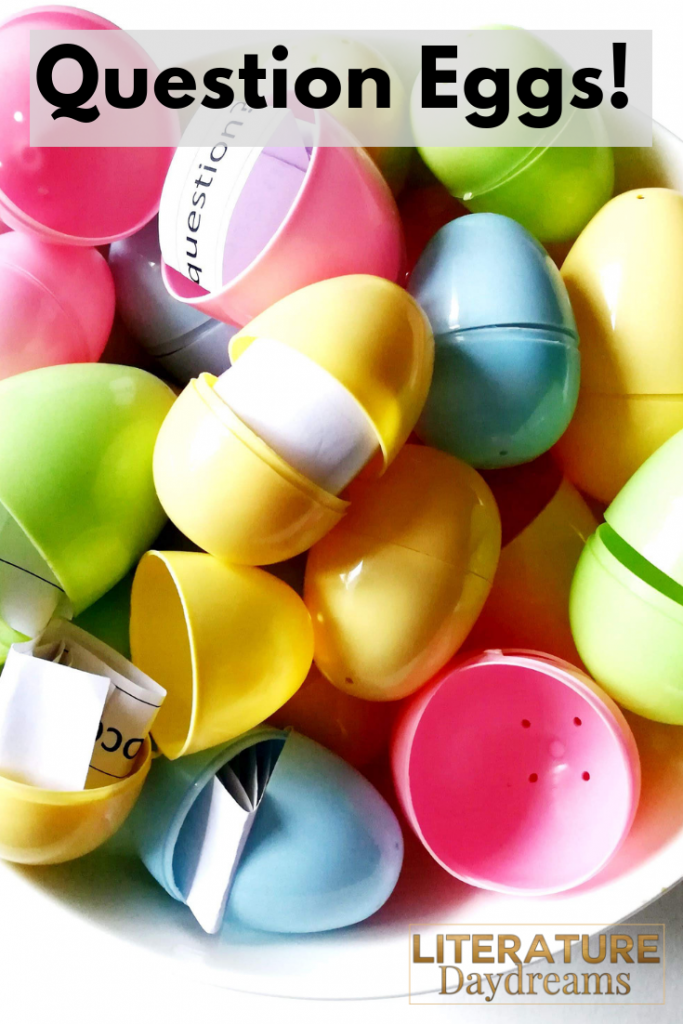
It’s about this time of year that supermarkets and pound (dollar) stores fill up with Easter goods. These little plastic eggs are a fabulous and cheap addition to your teacher-toolkit! They are great because the eggs come in 2 halves so you can put stuff inside. In my local store, you can buy a set of 12 plastic eggs like this for £1.

So as you can imagine, I have a whole load of them.
Place a different quiz question in each egg. Pass them around and get students to answer different questions from different eggs. All you need to do is to make a list of quiz questions on one page. Print and cut them into strips. You can create enough so that everyone has a different question or you can double up and have two sets circulating at once. This is a great way to review material in a low stakes test.
Fill some eggs with rewards and some eggs with challenges to generate a little bit of engagement in your activities.
Break up your new learning/information and place it into several eggs. Then get students to do an egg hunt to gather all the new information. So I would create 10 slips of paper with our new learning on. You can’t fit big pieces of paper in these eggs so you have to be concise. One strategy would be to number the slips and have students make sure they’ve gathered all of them. Or you could challenge your class by telling them there are 10 pieces of new information, they have to find them all and then get them into the correct order.
If you are teaching a text, then you could place quotations or textual references in different eggs for students to analyse.
For a writing task, you could place new vocabulary, writing techniques, different sentence structures into the eggs and students to self-select to create a success criteria or rubric for their own writing. I might choose to be a little more structured and include specific elements I want to see in writing. For example, one might say ‘simile’, another ‘metaphor’, another ‘personification’. I might also include instructions like ‘an 8-word sentence showing emotion’. Another might state ‘a character with a sinister motivation’. I have these in a huge bowl at the front and I ask the class to take 3 – 4, then they write these down as their success criteria. They can then return them and choose more.
Introduce new vocabulary by placing sentences on slips into the eggs. The new vocabulary word could be in capital letters. Students have to work out the meaning of the new vocabulary from the context of the sentence.
As you can see there are loads of different ways that you can use these plastic eggs in your classroom, just to add a little bit of fun and variety to your learning.
So if you see them in the shops this Spring, I would highly recommend picking while they are there! If you would prefer buying them online, then you can find them here:
US Amazon* UK Amazon*
*These are affiliate links. This doesn’t mean you pay any more or any less for the items shown. The price stays exactly the same. It does mean that I get paid a small commission if you buy these items using my link. It’s just enough to keep me going in cups of tea.

I have had a visualizer (document camera) in my classroom for a few years. I would use it once in a blue moon. Mostly to show the class something that I couldn’t copy. This year, I was thinking about how I could achieve 2 of my personal classroom targets. It turns out that my visualizer was the key to meeting both targets.
Quite a few of my classes contain groups of middle achievers, who have a tendency to sit in lessons not doing too much. They complete enough work to scrape by. They don’t cause trouble. They don’t answer questions. They are coasting. This year – I was going to change that. No more passive students!
I want to intentionally cut down on using paper in my classroom. As an English teacher, it feels like I do nothing but generate paper. Unfortunately, we have zero technology available, so that wasn’t an answer. I needed to find an alternate solution to the countless worksheets, printed articles, and practice tests I use.
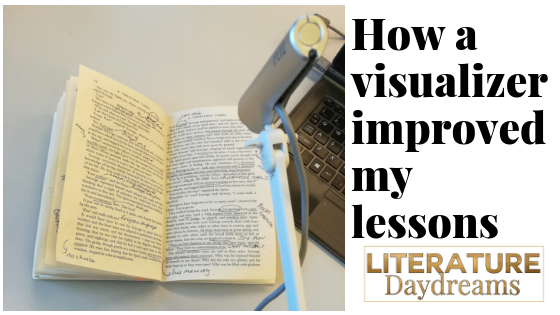
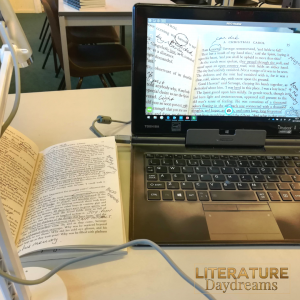
This IPEVO* visualizer/document camera proved to be the unexpected key to my success. My very no-techy explanation of what a visualizer is: it’s a camera, that plugs into your computer USB port and you can manipulate to point at a book, sheet, or whatever on your desk. It then projects the image onto your computer screen and thus onto your classroom screen / interactive whiteboard.
Perhaps you have a visualizer knocking around your department, here are a few ways you can put it to good use. If you don’t own one – I can’t exaggerate enough how much I love mine.
UK link* https://amzn.to/2OorlJh
I ‘live annotate’ my literature texts with my class. All my classes have to do examination-style tests on their literature texts. It could be a 19th-century novel, Shakespeare, poetry – they are all tested by a cold extract exam. They don’t get their copy of the book with them. No notes. Just what is in their brain.
So they need a lot in their brains!
First up is ‘live annotation’. I essentially teach the skill of reading and annotating using my visualizer. I put my blank copy of the text under the camera and as we read, we annotate together. It might be comprehension details, word meaning, connotations, themes, or links to historical context.
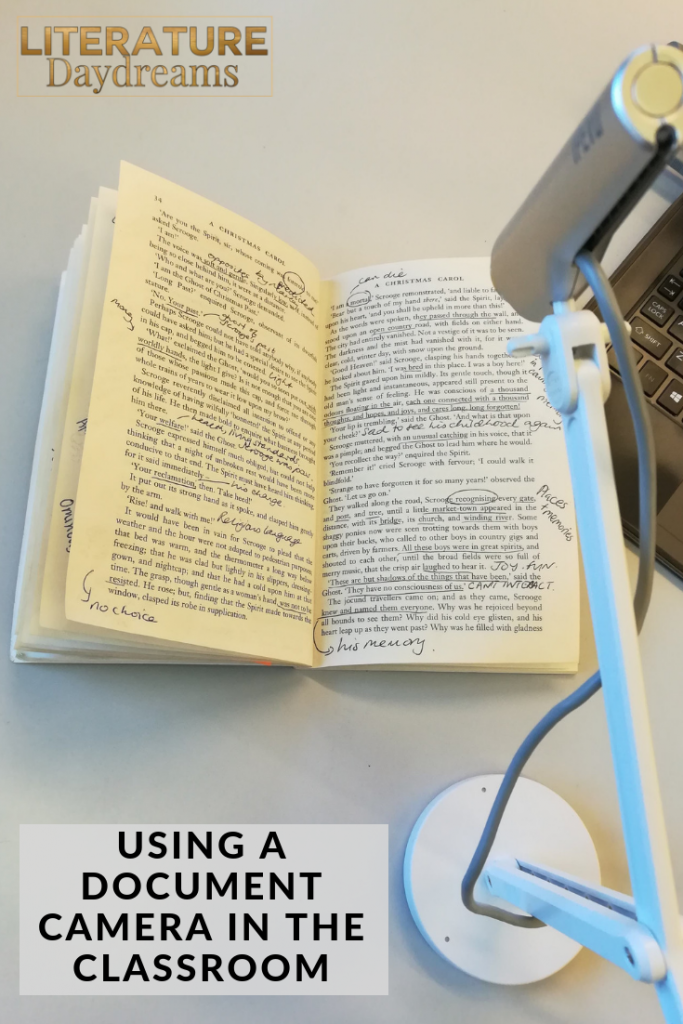
The unexpected upside for my coasting students was that this activity was so concrete and so easy at the beginning, that they got all the annotations down without even thinking about it. After all, at the beginning, all they were doing was copying.
As time passed, I asked more questions “what should we be annotating here?” and it felt much less like spoon-feeding my students. Everyone was so comfortable by then that they would be suggesting ideas. They had learned a skill which wouldn’t necessarily have come naturally to them!
I can’t tell you how many times I have printed and copied 30 blank table worksheet for my class to fill out. Just because I couldn’t be bothered to go through the hassle of explaining exactly how many columns and rows were needed. I admit it, I was lazy. I couldn’t deal with “I’ve run out of room!” or “It doesn’t fit in my column!”
Now I just use my visualizer to demonstrate exactly what I want the table to look like. I get a blank piece of paper, line it up under my visualizer, draw the first line – everyone copies – draw the next line. It probably takes about the same amount of time as handing out 30 sheets and getting them glued in books.
The secondary upside is my meager contribution to saving the planet by reducing copying!
In addition to my coasting students, I have a few classes that really struggle with English. Although these classes tend to be smaller and specialist, it is always hard for me to get around and spend time with every student.
I use my visualizer as a way to provide me with more 1-2-1 time with certain pupils. Let me give you an example: say we are covering the difference between showing and telling. We complete the first task together, on the visualizer (which means I can also model good handwriting etc). I leave the work on the screen, so my slower writers can take their time to write it down.

I can then circulate around the class to give individual support.
This works better than going through the work verbally because I don’t have to keep repeating myself.
It also works better than typing the work onto my screen / whiteboard because I can interact directly with the ideas – I can circle words, change them, highlight, put stars by things as I am explaining.
I’ve saved the best to last. This idea has made a huge difference to my students progress. I started ‘live marking’ in the same way that I did ‘live annotating’. My classes would complete a piece of creative writing or an essay. I would take responses from 4 – 5 volunteers and mark them live using the visualizer.
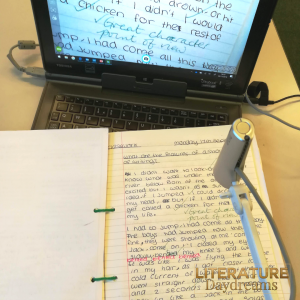
Let me break it down for you: say you wanted to work on thesis statements. I would ‘live mark’ those 4 – 5 pieces of work by placing them under the visualizer and looking at just the thesis statements. We would work out together which were the strongest, how to identify the weaknesses, and how to improve any that needed improvement. The rest of the class would then look at their own thesis statements and self-assess.
These are just a few ways that I use a visualizer in my classroom!
Leave a message in the comments if you use a visualizer. I’d love to find even more ways to use it in my classroom!
*These links are affiliate links, you don’t pay any more or any less by using this link. It does mean I get a small commission – which helps keep me in cups of tea!

As I got ready to ‘go back to school’ this autumn, I found myself tempted to buy all-the-things. I work hard to control my spending impulses, after all, I already have too many things in my classroom. I don’t need anything more, really I don’t.
So this year, I decided that I would choose 5 things I used (or loved) the most in 2017. And so, here’s my list… enjoy!

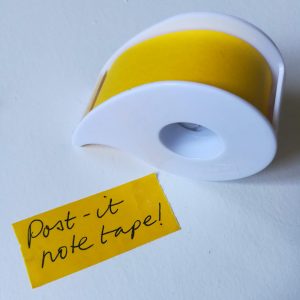
Every teacher loves a post-it note, right?! Well, I ADORE post-it note tape (see below). I use this tape for a thousand things. I use it to move to-do items around in my planner; I put notes on my wall calendar; I use it to annotate texts; leave notes on students’ work and desks. As this tape is ‘tape-shaped’; it has the advantage of being smaller than a post-it note and it is sticky all the way across so there is no chance at all of it being lost!
These are the links for post-it note tape:
UK link https://amzn.to/2AJAlXW USA link https://amzn.to/2M1W8ic
Please note these are affiliate links. You should know that this item will not cost you any more or less than it would if you found it through the usual search function. I do receive a small commission for anything your order using these links.
I know, I know, these paper clips are not entirely sensible. But I love these cute paper clips. I have 100s of them and use them for everything from tagging papers for grading together, to handing work back to students. There’s just something about using these paper clips that makes me smile.
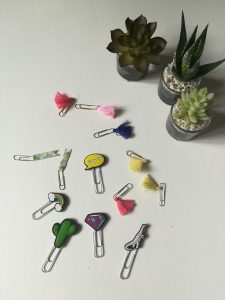
Here are a few of my favourite animal paper clips!
UK link https://amzn.to/2OMCvIF US link https://amzn.to/2Mx34nK
Most of the boards in my room are pretty static throughout the year. I use them to display work on particular ideas or texts we have studied but they don’t change regularly – partly because I don’t have time, mostly because they don’t need to. My students study texts for two years, so the information stays relevant.
However, I do have one board that I change every day. My wire mesh messageboard sits behind my desk and I like to use it to write funny messages for my students. I put up photos, memes, inspiration quotes, and amazing pieces of work. I also use it for our word of the day (today the word was ‘yield’) and for our debate topic of the day.
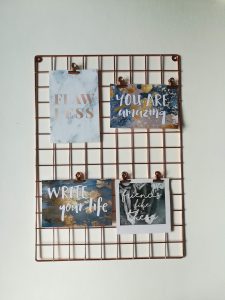
My message board is pretty small. If I bought it again, I would get a bigger one! Check these ones out…
UK link https://amzn.to/2vCSNfg US link https://amzn.to/2M1V8KY
If you follow me on Insta (find me here), it won’t come as a big surprise that one of my ‘essentials’ is a travel mug. I teach a lot of classes. Nine in fact. That’s a lot of talking every day. My ECO cups (yep, plural) are what keep me going. Especially now that it is getting cold and I am wanting warm drinks because the heating doesn’t work!

UK link https://amzn.to/2R8j0vV US link https://amzn.to/2zDZfpo
I use stickers a lot in my classroom. Yep, teenagers love stickers. I use them to track excellent written work, I put them on the back inside cover of the notebooks (so my teen boys don’t get embarrassed) and then I send a positive letter home for every 5 stickers.
So with approximately 220 students coming through my classroom each week, I get through a lot of stickers. And I mean A LOT!
Here are just a few of the stickers I’ve used already this year!

I buy stickers from all over the place. I am an expert at spotting super cheap ones wherever I can. Of course, occasionally that means Amazon is my friend. Here are my go-to online sets.
UK link https://amzn.to/2DEOF5E US link https://amzn.to/2zD4HJ7
I’d love to know what the essentials are in your classroom! Why not drop me a note in the comments below?!